


Your Step-By-Step Guide For Installing Flexitions Moldings
Collections
-
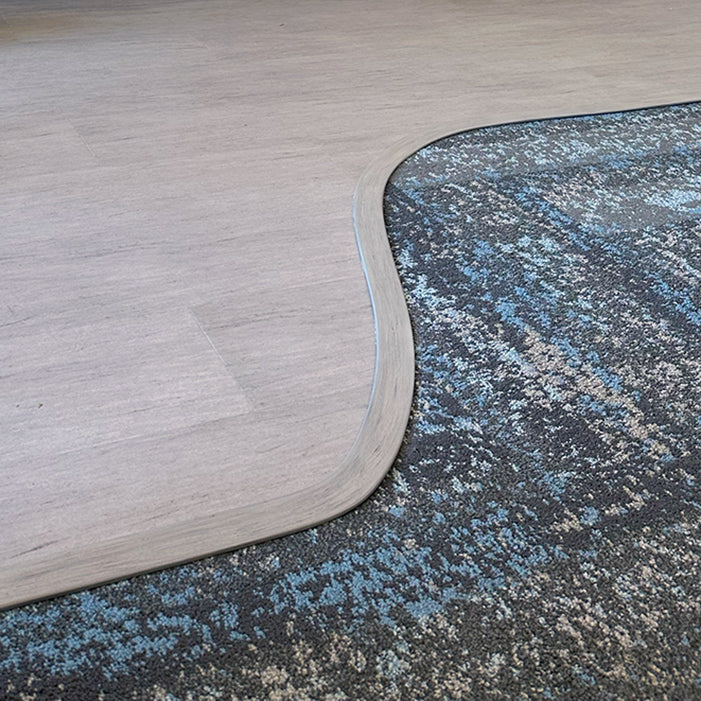
Transitions & Reducers
Commercial-grade transition solutions designed to create clean, professional connections between flooring surfaces....
-
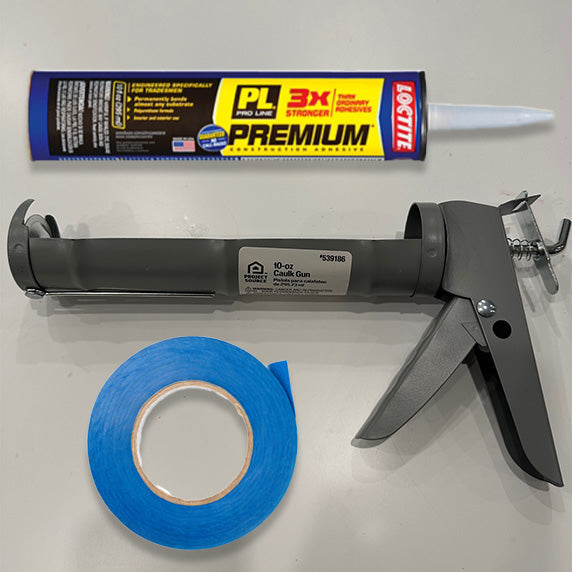
Application Essentials
Everything you need to install like a pro.
-
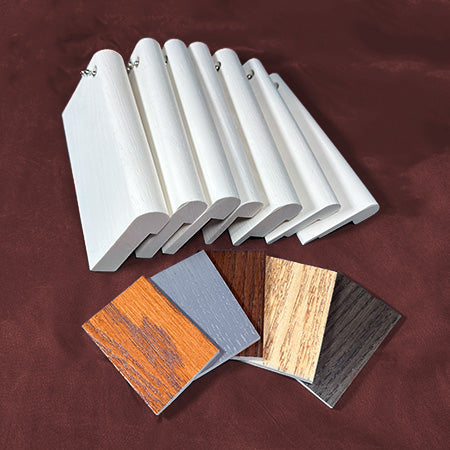
Samples & Custom Services
See it. Feel it. Match it. Build it. Whether you're selecting colors,...

