


Your Step-By-Step Guide For Installing Flexitions Moldings
Collections
-
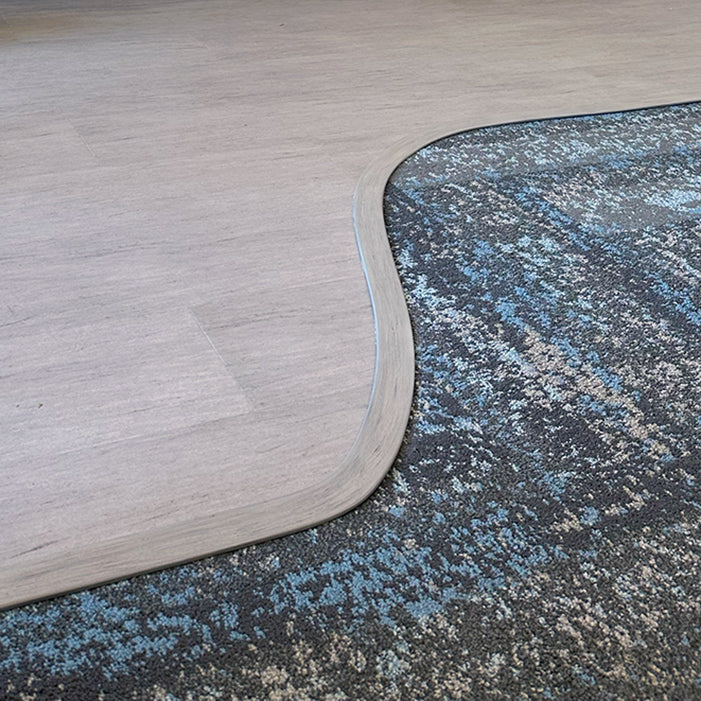
Molduras de transición flexibles
Molduras de transición flexibles y teñibles
-
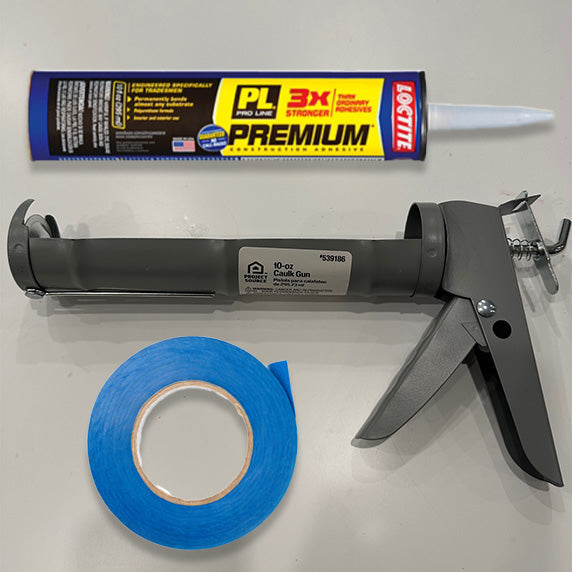
Productos auxiliares
¡Todo lo que necesitas para instalar nuestras Molduras!
-
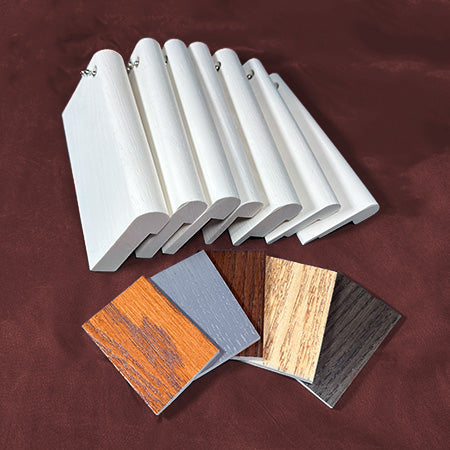
Muestras del producto
Solicite muestras antes de comprar. ¡Ahorre tiempo y dinero asegurándose de obtener...

